Call or Text Us Today: 754-212-9141

The
24 Hour Floor
Application Process
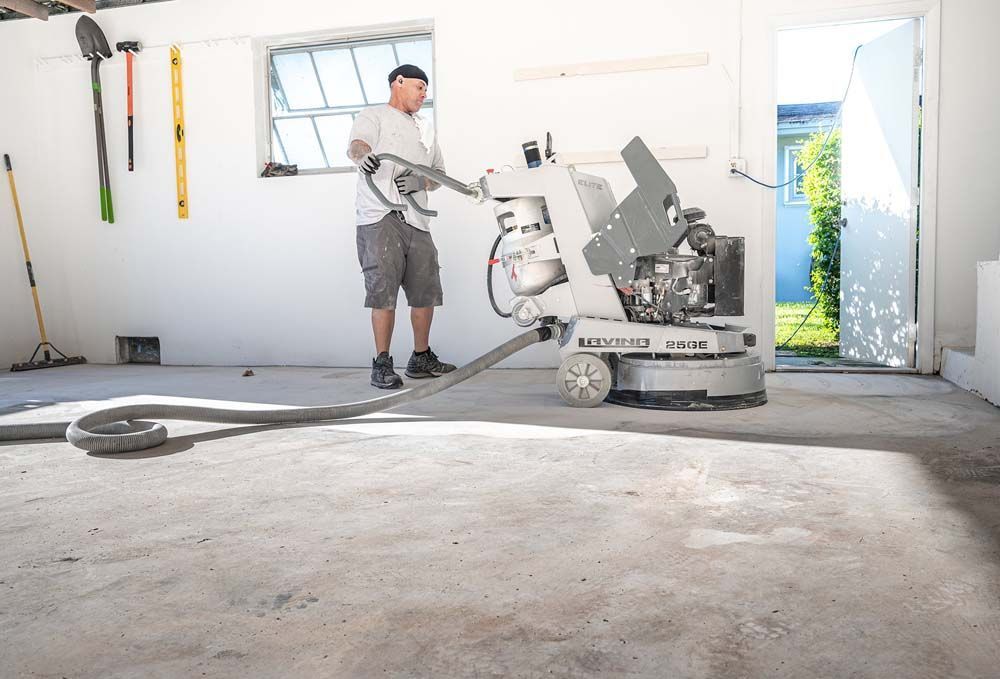
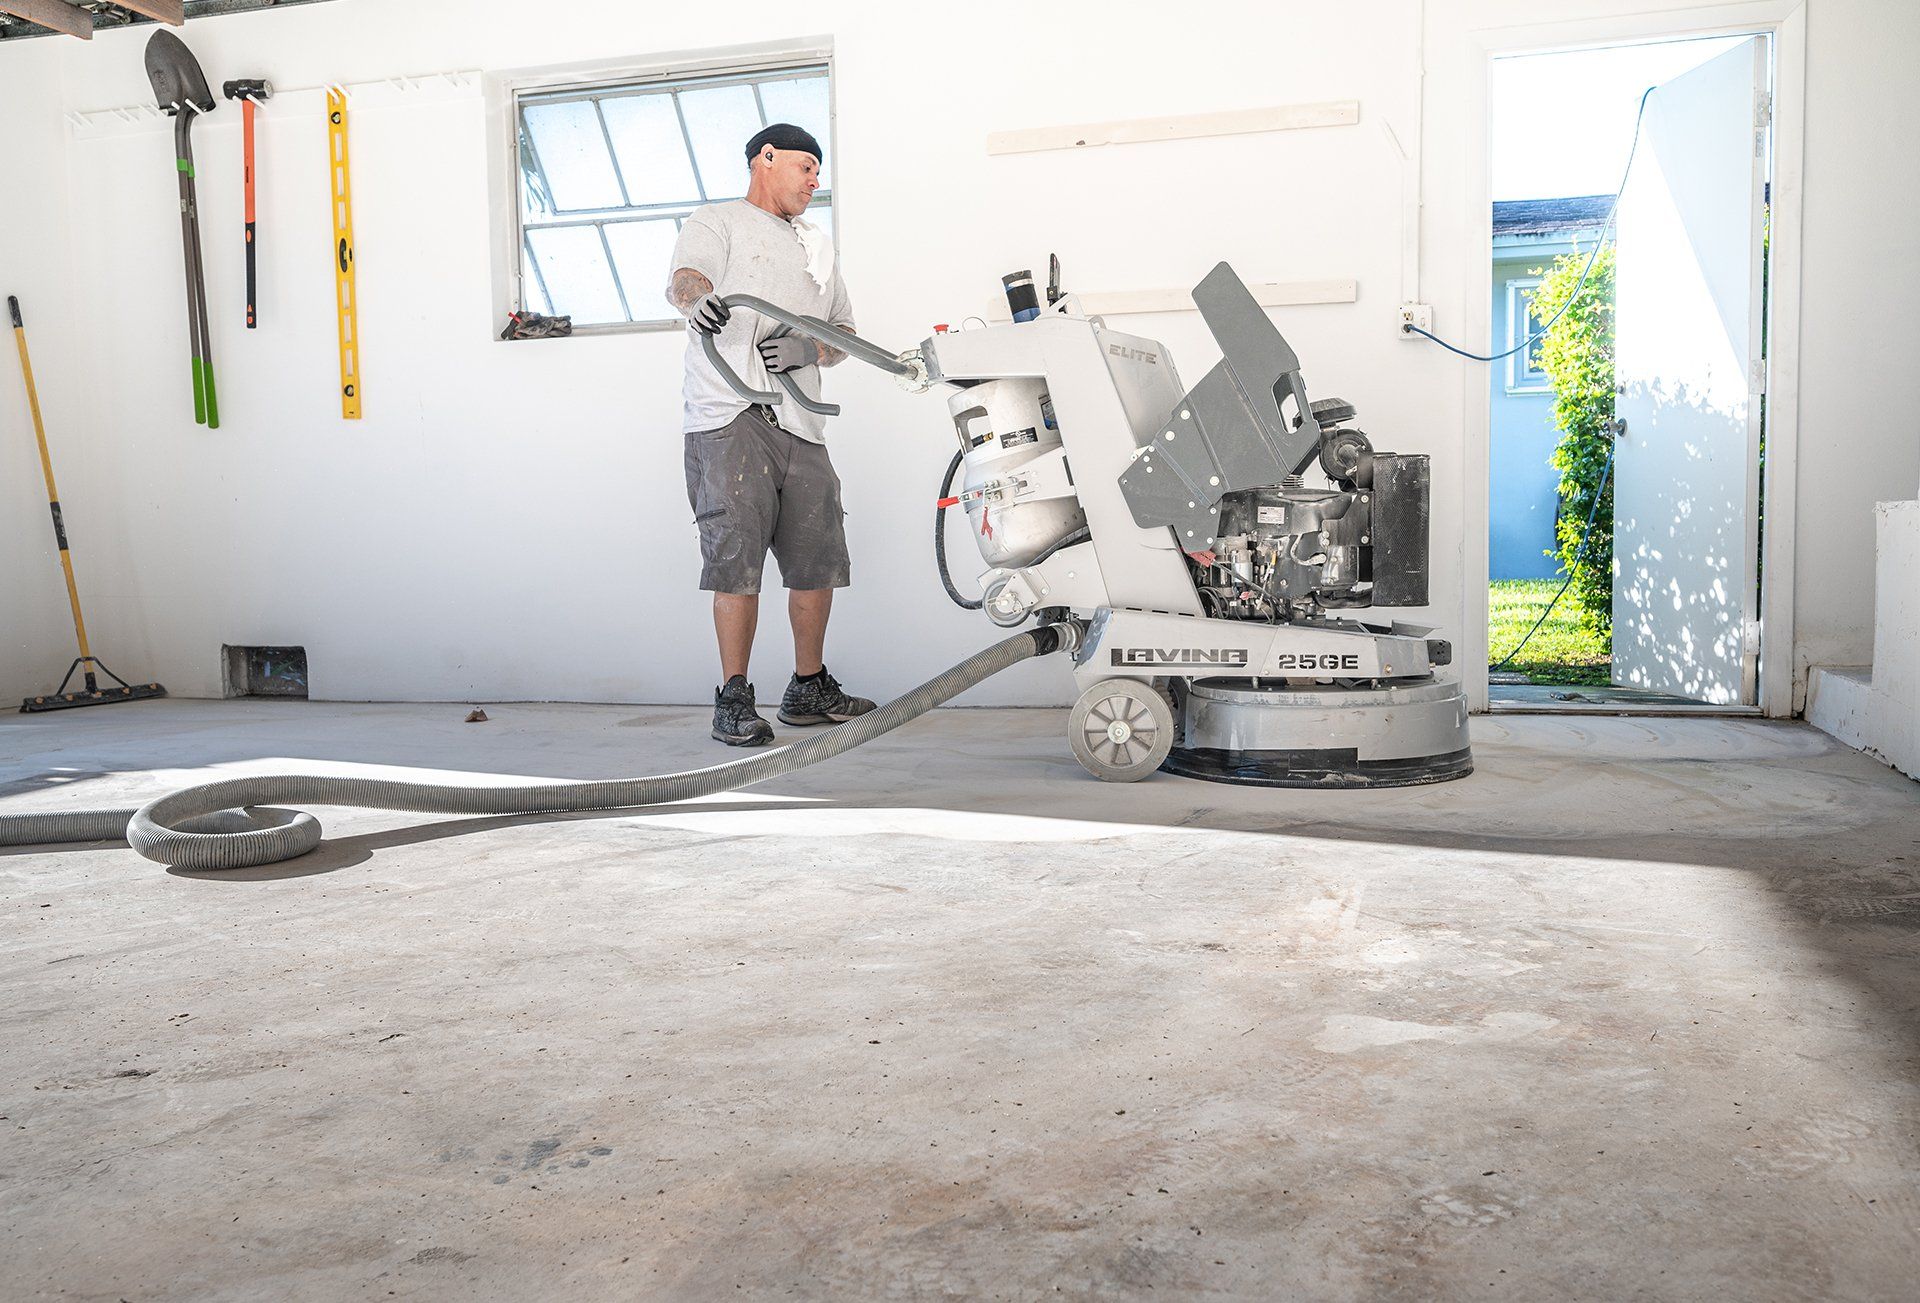
At 24 Hour Floor, we’re dedicated to providing our customers in South Florida and Treasure Coast area with premium concrete coated floors they will enjoy for years to come. We pride ourselves on the long-lasting good looks and longevity our floors offer. To guarantee the premium quality of our floors, we take meticulous attention to the preparation and application of our polyurea concrete coated floors. In fact, our expert team of applicators follow a stringent regimental application process in to make certain that your 24 Hour Floor properly bonds and adheres to the floor surface, remaining free of scratches and scuffs for years to come.
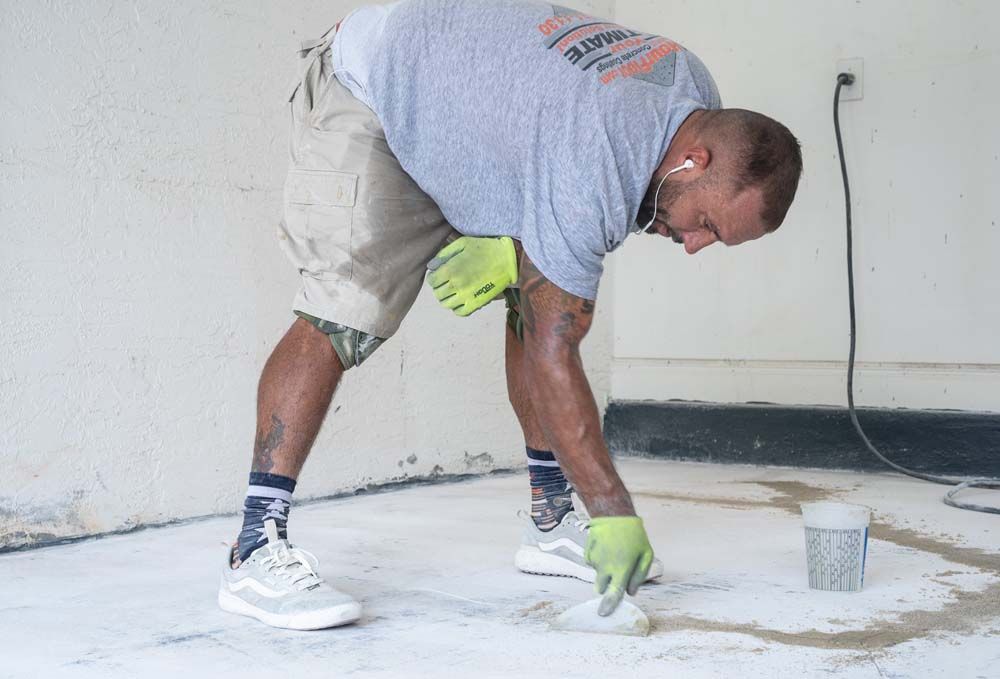
Step 2 – 24 Hour Floor Repair, Reconstruction & Fixing The Cracks
To ensure your new 24 Hour Floor is installed on the smoothest of surfaces, we first will repair any cracks of your existing floor surface, using menders and fillers to repair cracks and spalls prior to applying any coating.
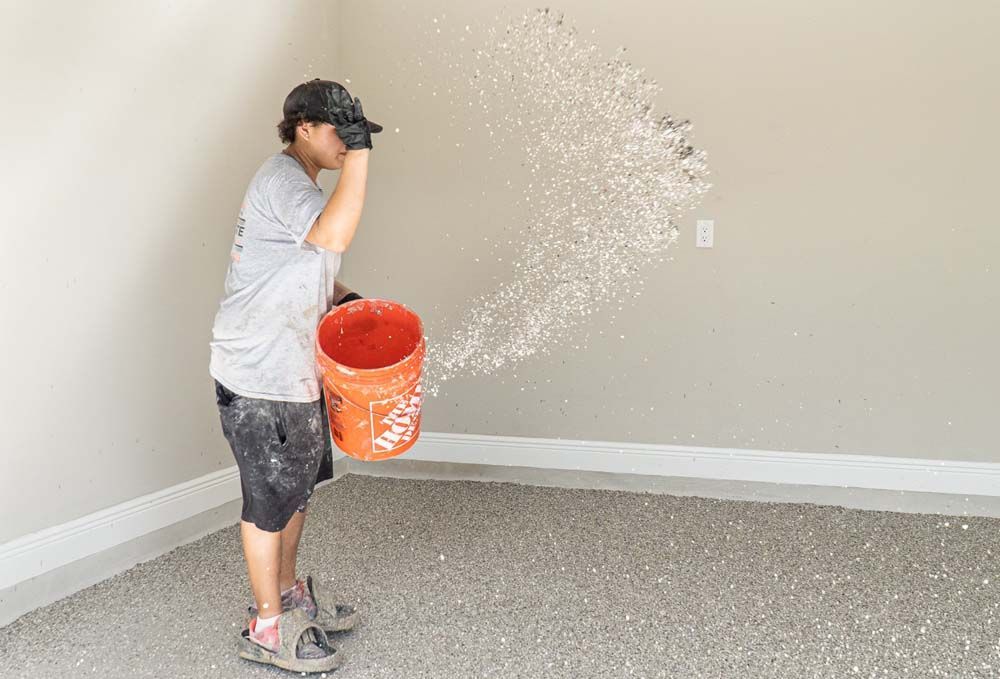
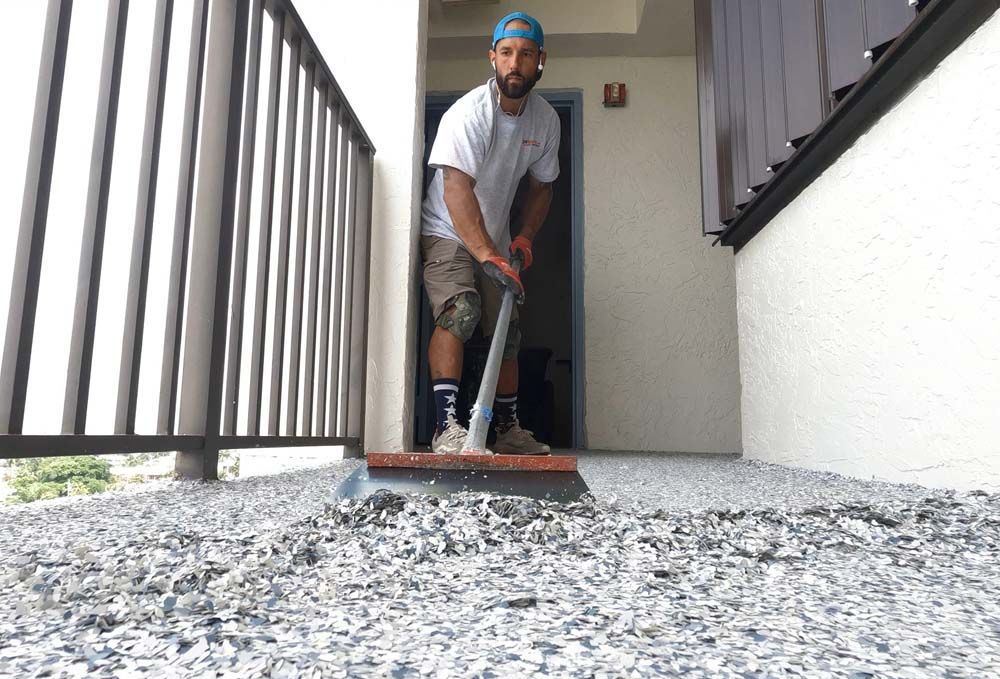
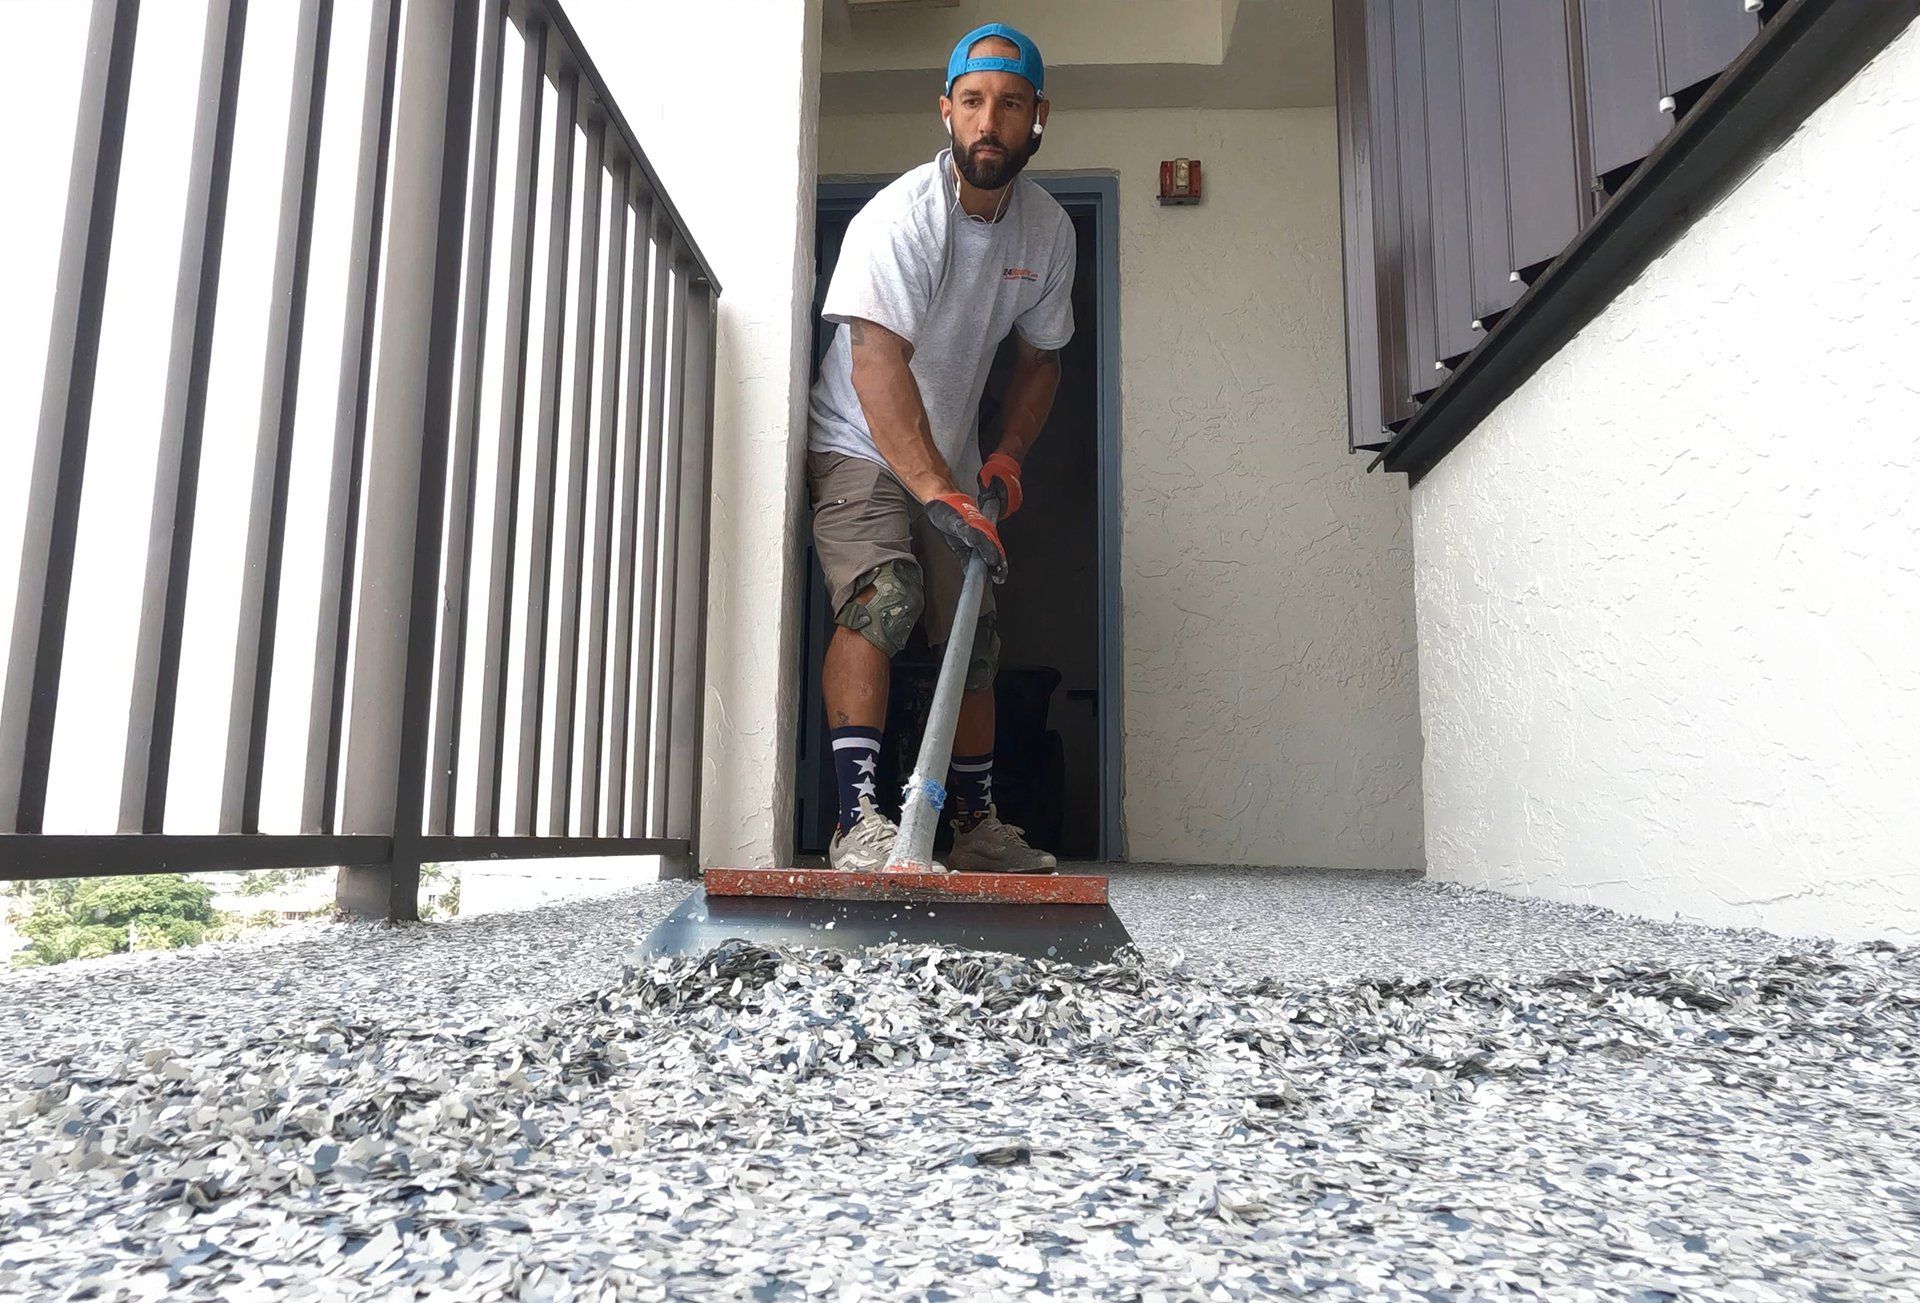
Step 4 – Administering The Flakes Of Your 24 Hour Floor
Immediately after the basecoat is applied, we scatter multi-colored vinyl flakes across the floor by hand. This provides texture to your floor and creates a highly attractive appearance. At 24 Hour Floor, we offer numerous color combinations to choose from. You can customize the look for your 24 Hour Floor to your specifications.
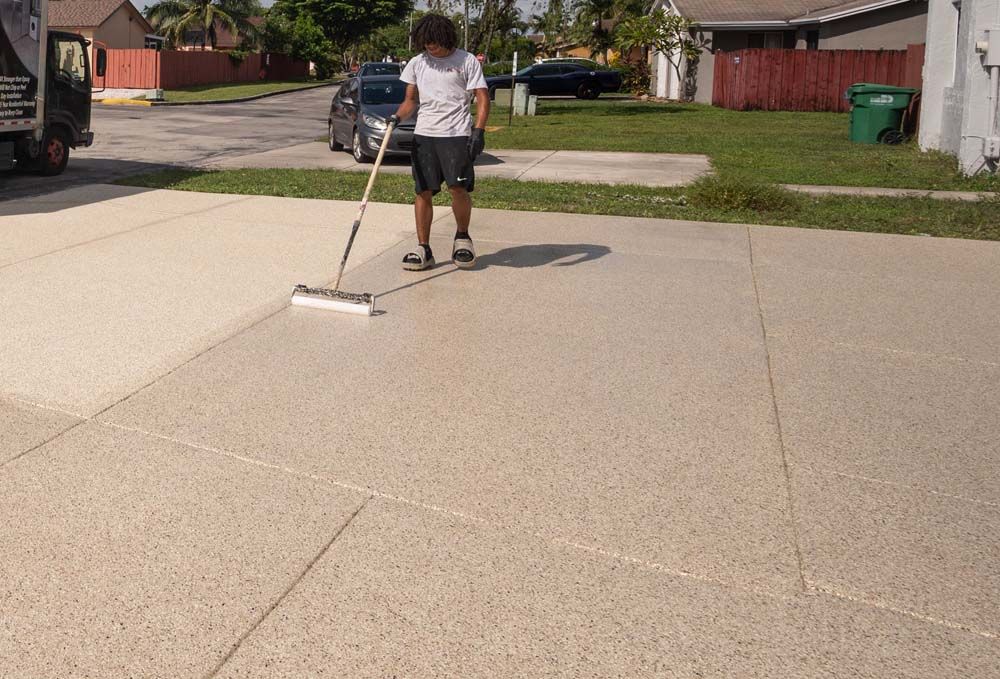
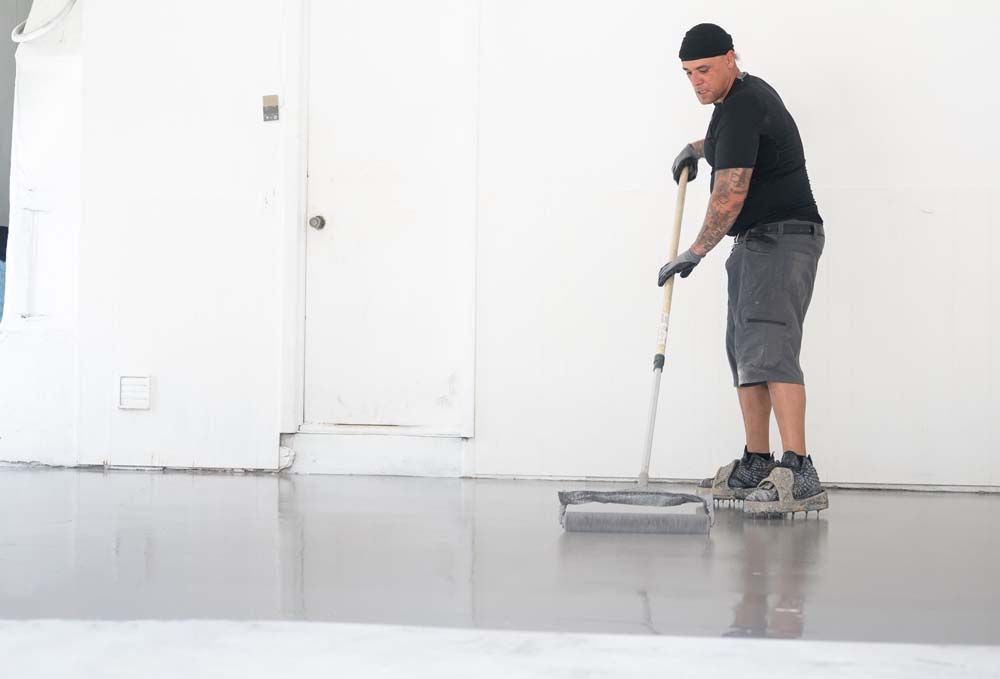
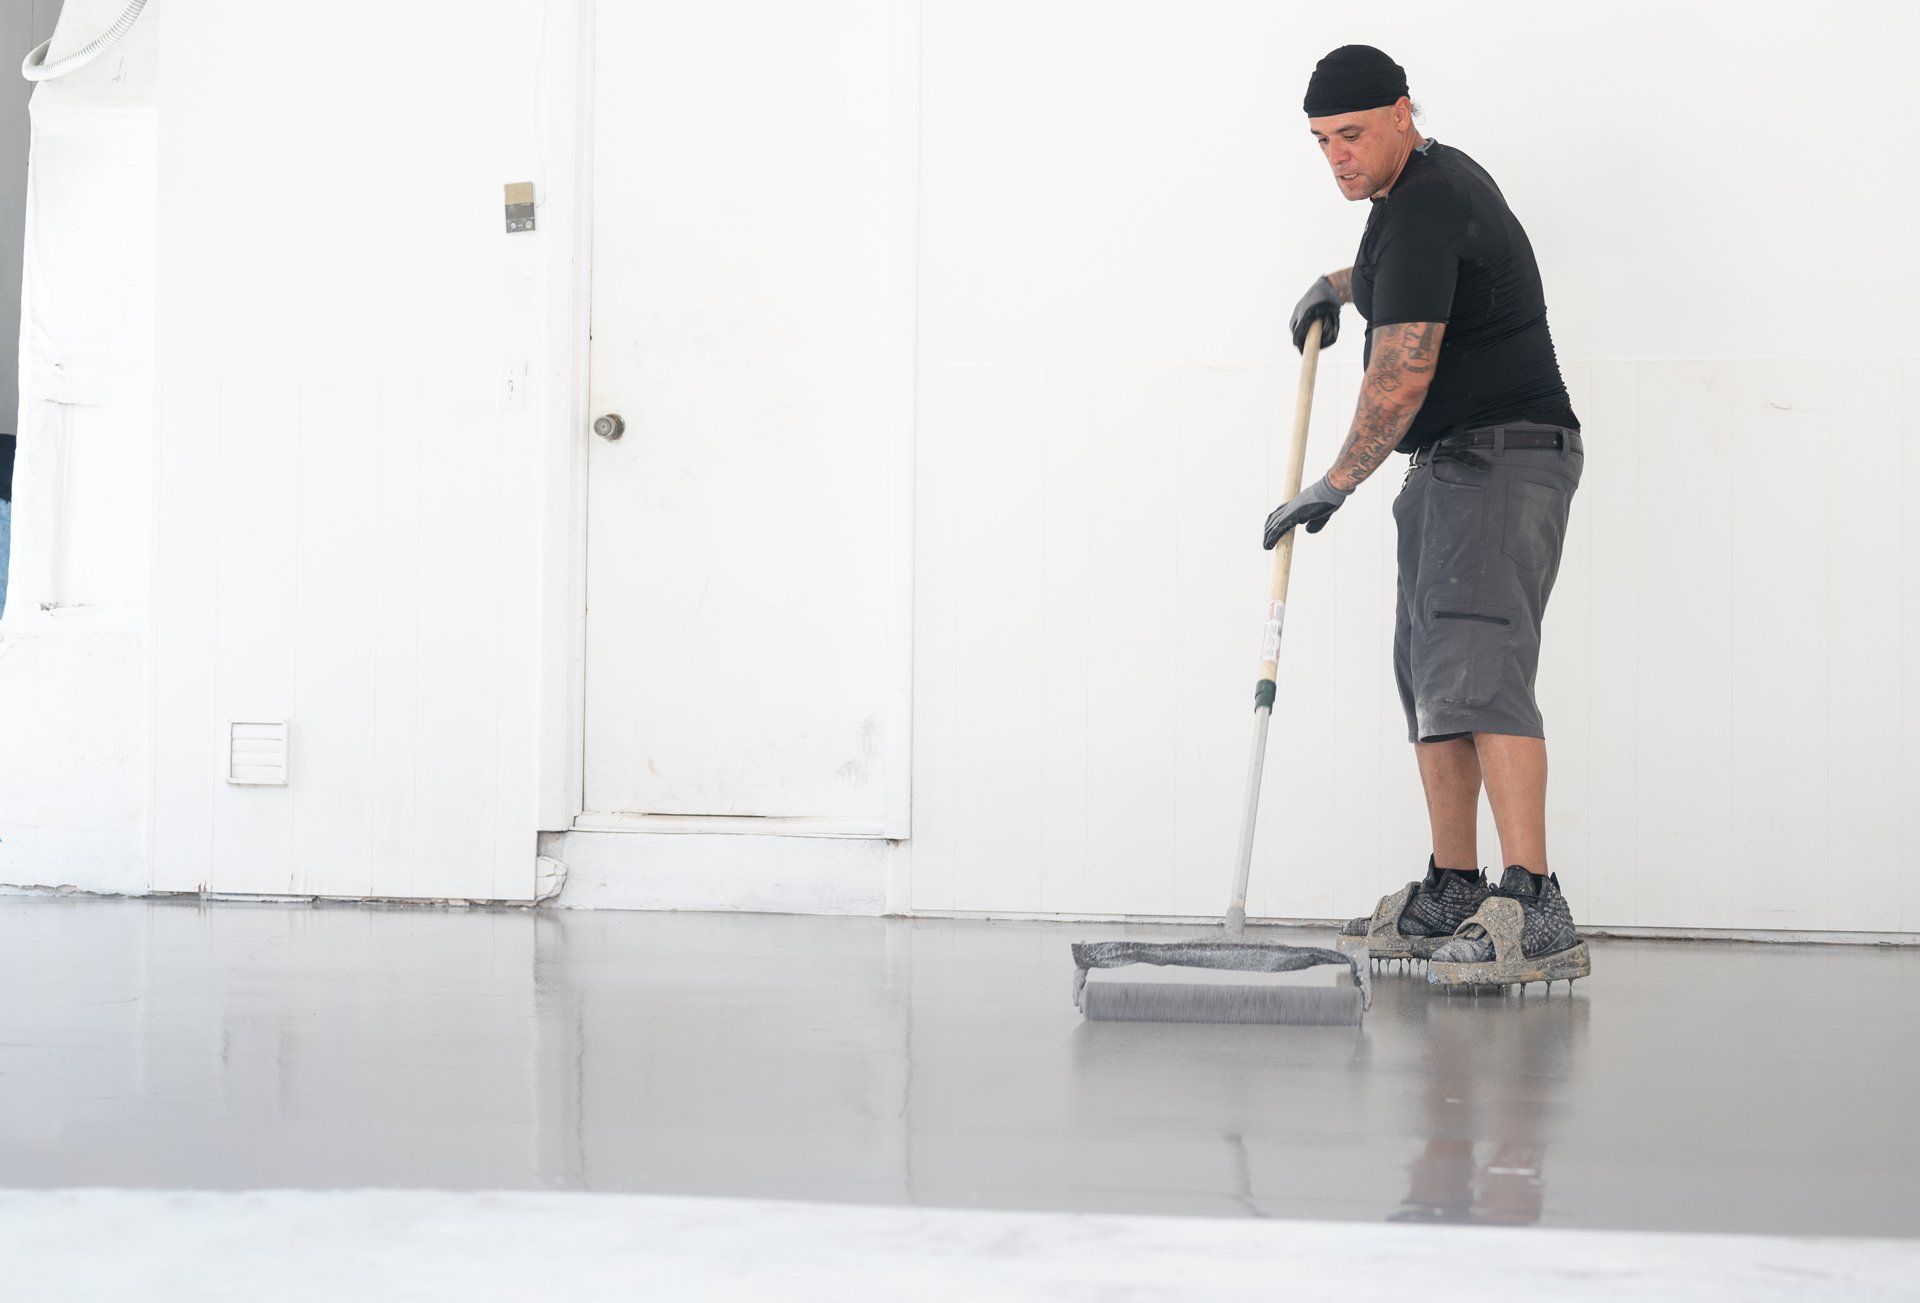
Step 6 – 24 Hour Floor Clear-Coat Application
This top clear layer of polyurea paint creates a shield to protect your new floor from natural wear and tear, such as scuffs, sharp impacts, and chemical spills. Once this layer is applied, it wil be fully cured and ready for minor foot traffic within 4-6 hours. Plus, you’ll be able to fully use it within a day.